The last couple of weeks there been a lot of posts in social media with pictures of people in Teams meetings with fun camera filters, I’ve got some questions about this and I’ve seen questions from users that want to use these filters too. This is not an function in Teams, it is an external software that you install called Snap Camera.
Since it is a virtual web camera that you install you can use Snap Camera for other applications too, like Skype, Skype for Business, Zoom, Webex, etc.
Install Snap Camera
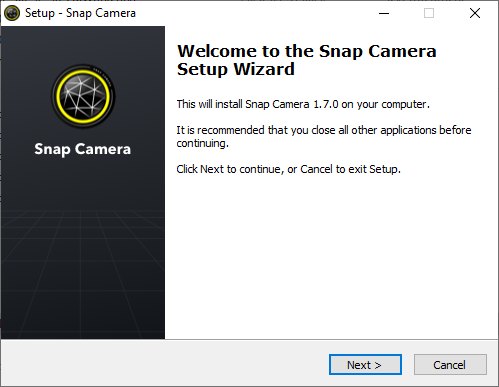
First open https://snapcamera.snapchat.com/ and download the software, it is available for Mac and Windows.
Run the installation, simple Next, Next, Finnish-installation.
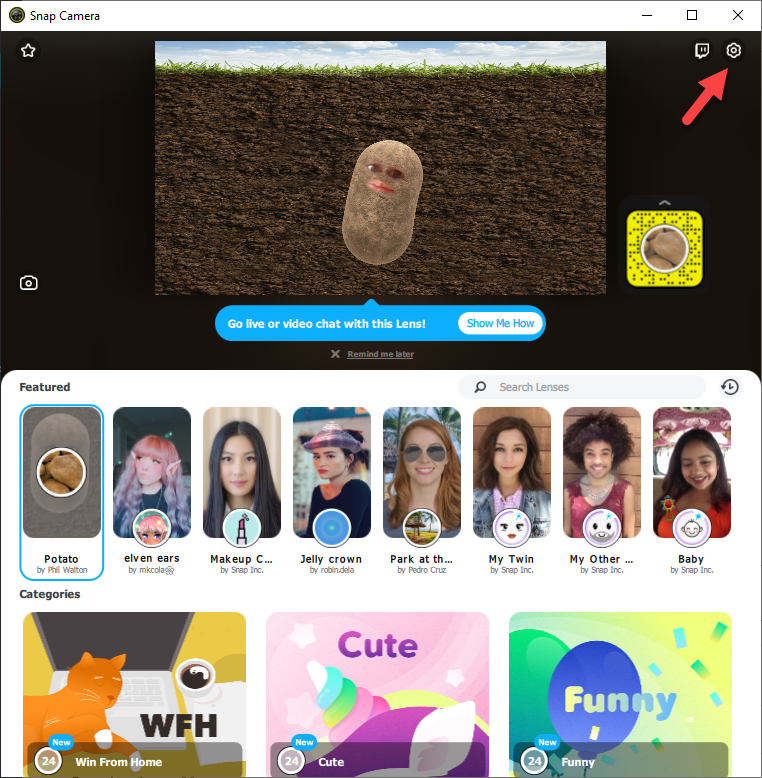
The Snap Camera app will open when you finnished.
In the first view you can select what filter to use, here I am a potato. In the upper right corner you can change settings, click on the cogwheel.
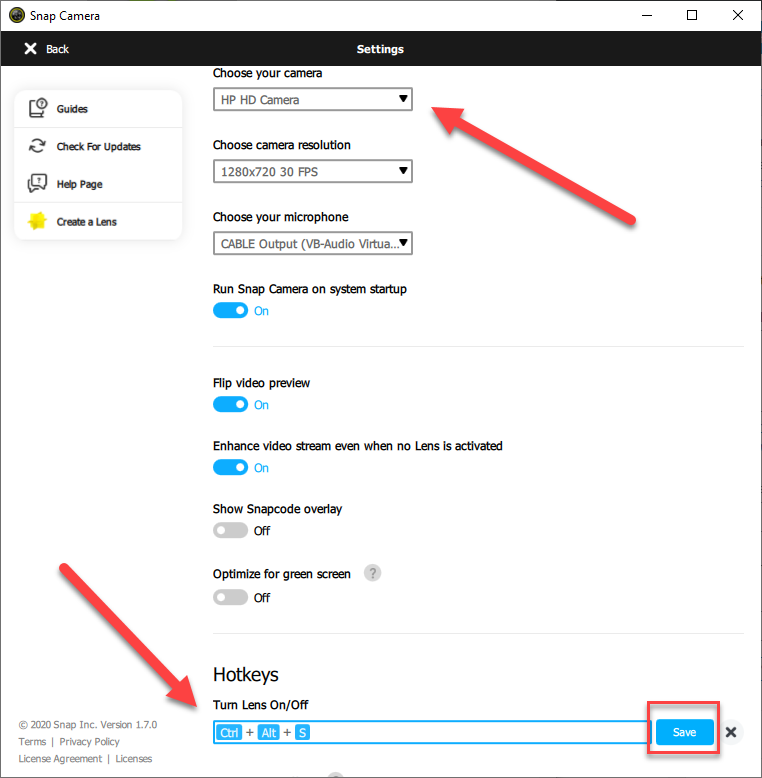
In the settings select which camera to use (if you have more than one), also set an Hotkey to enable disable the filter. The hotkey will allow you to easily turn the filter of or off (turn fun on or off), don’t forget to save the hotkey.
Use Snap Camera in Teams
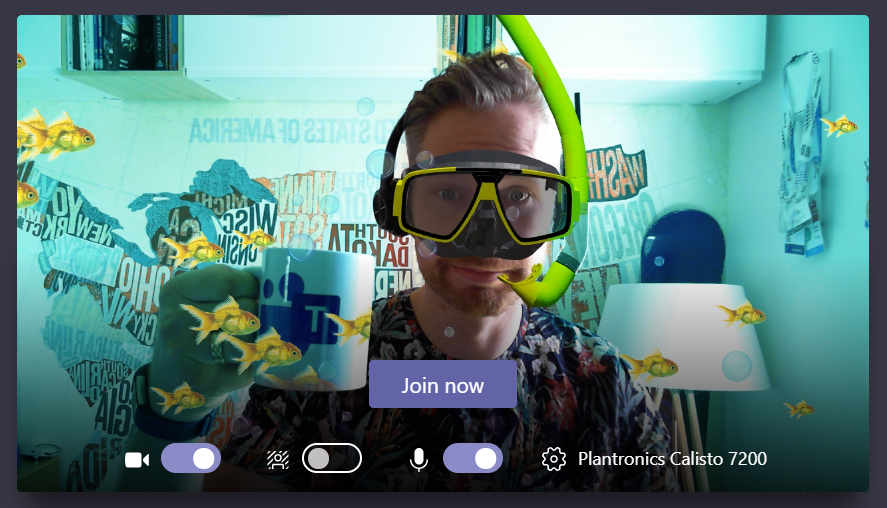
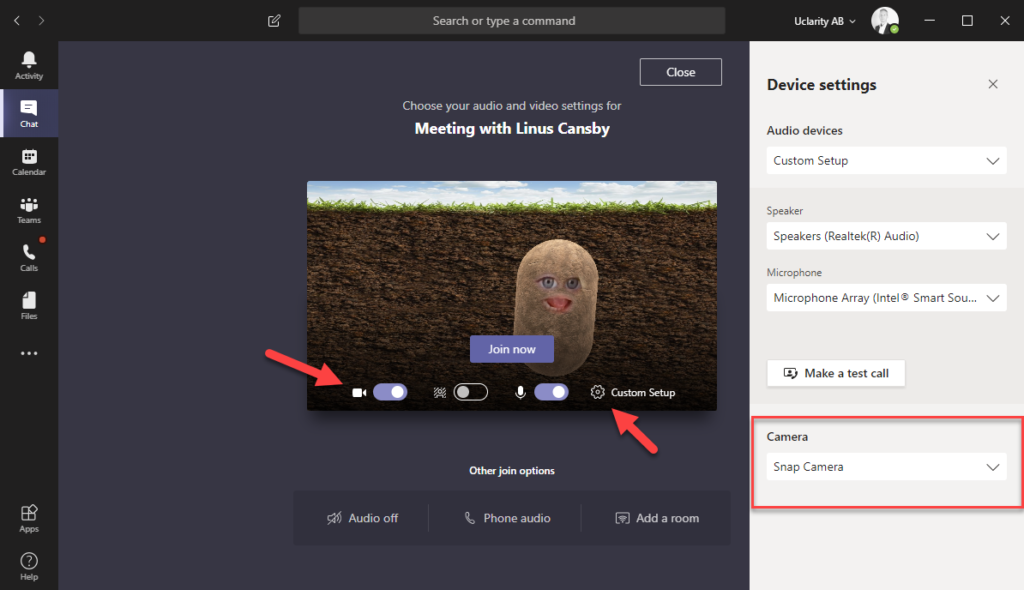
After you installed Snap Camera you might have to restart Teams for it to find your Snap Camera. Join a Teams meeting and in the Pre-join window make sure that the Camera is activated. Click on Custom Setup to select the Snap Camera in Camera settings. Then join the meeting.
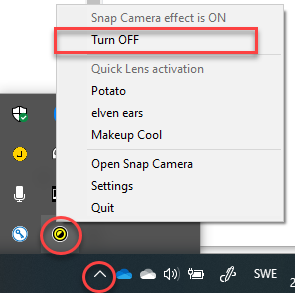
During the meeting you can use the Hotkeys to turn on/off the filter. You can also turn on/off filters from systray (down by the clock in the lower right corner of your screen). Right click on the Snap Camera icon and select Turn OFF. If you left click you will open Snap Camera software.
Note that Snap Camera software uses some CPU and Memory, so this can affect the performance of your meeting.

M365 Apps & Services MVP | Consultant work at Exobe, based in Göteborg, Sweden. Co-host of Teamspodden, co-organizer of Teamsdagen. Been working with Exchange, LCS, OCS, Lync, Skype, Teams and related stuff for a while. Mostly writing tips and news after getting questions from customers.

Yes
thisis nice
So cool